2025-08-20 — By Siddharth Jain · 6 min read
How to Transfer Files Between MacBook and Android/iOS Devices Using LocalSend
Transferring files wirelessly between your MacBook and smartphone can sometimes be tricky, especially if you want a fast, secure, and easy method without using cables or cloud storage. Enter LocalSend—a reliable, open-source app that makes sending files between devices as simple as a few taps and clicks.
This guide will walk you through how to use LocalSend to quickly move files between your MacBook and Android or iOS phone nearby, hassle-free.
🌟 What Is LocalSend?
LocalSend is a free, peer-to-peer file sharing app that works across all major platforms, including macOS, Android, and iOS. It does not require internet or cloud servers, which means you share files directly over your local Wi-Fi network or hotspot. This ensures fast transfers, privacy, and no data consumption.
Key benefits:
- End-to-end encryption for security
- No registration or account needed
- Simple user interface
- Works on Windows, macOS, Linux, Android, and iOS
✅ Step-by-Step: Setting Up LocalSend on MacBook and Phone
1. Install LocalSend
- On MacBook: Download the official LocalSend app from localsend.org and install it.
- On Android/iOS phone: Install the LocalSend app from Google Play Store or Apple App Store.
2. Connect Devices to the Same Network
Make sure your MacBook and smartphone are connected to the same Wi-Fi network or create a hotspot on your phone and connect the MacBook to it.
📤 How to Send Files from MacBook to Phone
- Open LocalSend on your MacBook.
- Click Send File or drag and drop files into the app window.
- On your phone, open LocalSend and it should automatically discover your MacBook.
- Tap on your MacBook’s name to accept and start the transfer.
- The files will appear in your phone’s default download location.
📥 How to Receive Files on MacBook from Phone
- Open LocalSend on your MacBook and keep it running.
- On your phone, select the files you want to send.
- Choose LocalSend as the sharing option and select your MacBook from the discovered devices.
- Accept the incoming file transfer on your MacBook.
- Files will be saved in the LocalSend folder or a location you choose.
⚡ Tips for Faster and Smoother Transfers
- Use a strong, stable Wi-Fi connection or a personal hotspot instead of public networks.
- Avoid transferring very large files all at once; break them into smaller batches if needed.
- Keep LocalSend apps updated on all devices for best performance and security.
- If auto-discovery fails, try refreshing the app or entering the device’s IP manually.
🔒 Privacy and Security
LocalSend uses end-to-end encryption, so your files never leave your local network or pass through external servers, keeping your data safe and private.
💡 Why Use LocalSend Instead of Other Methods?
- No wires and no need for internet
- No sign-ups, ads, or data limits
- Works seamlessly across different operating systems
- Open-source and community-trusted
With LocalSend, transferring files between your MacBook and smartphone is simple, fast, and secure without the usual hassles. Try it today to streamline your file sharing experience!
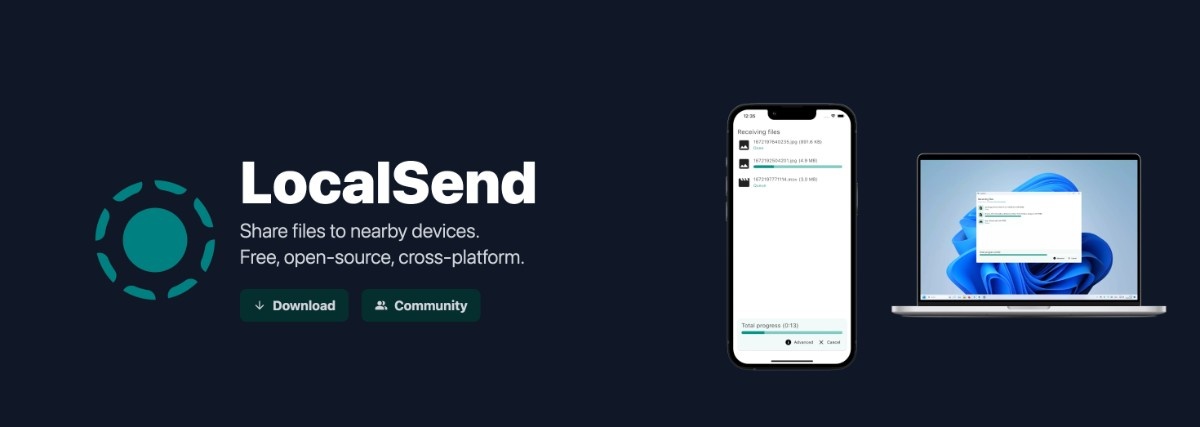
📸 Screenshot Example: